UbiBot Opp ローカライゼーション展開インストールプロセス

小林
最後の更新2年前
I. インストール
UbiBotOPPをインストールします
a.[UbiBotOPPSetup]をダブルクリックします。

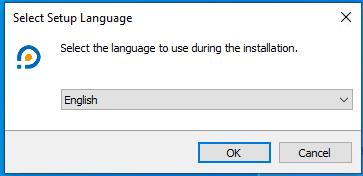
b.セットアップ言語を選択し、[Next]をクリックします。
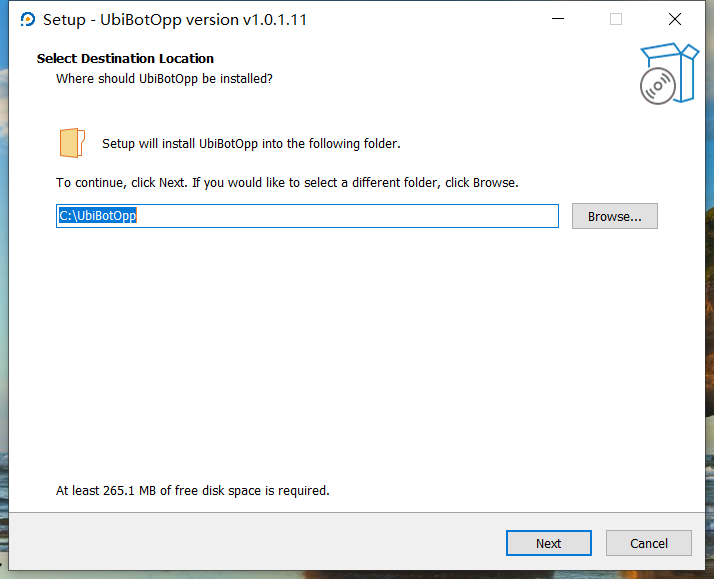
c.保存先を選択します。デフォルトパスは “C:◆UbibotOpp”です。[Next]をクリックします。
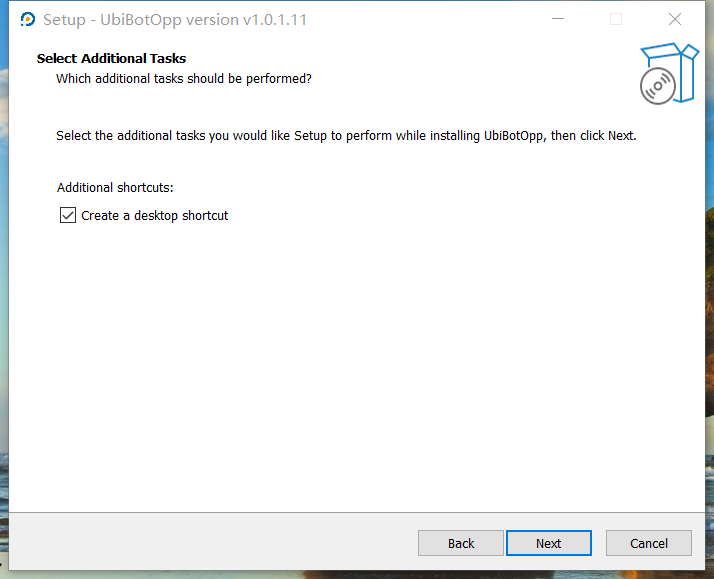
d.その他のタスクを選択し、[Next]をクリックします。
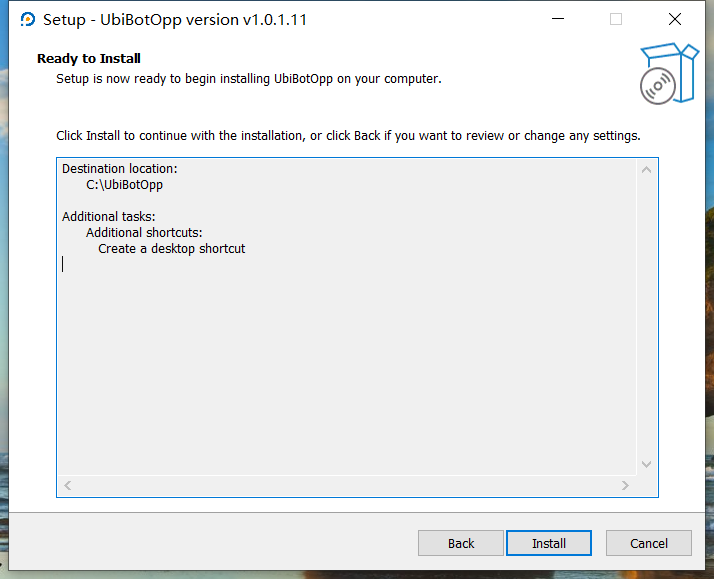
e.[Install]をクリックします。
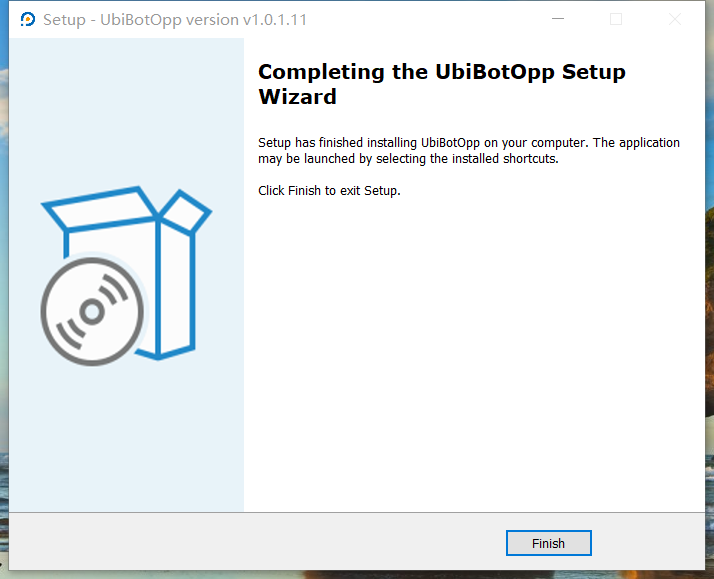
f. [Finish]をクリックしてインストールを完了します。
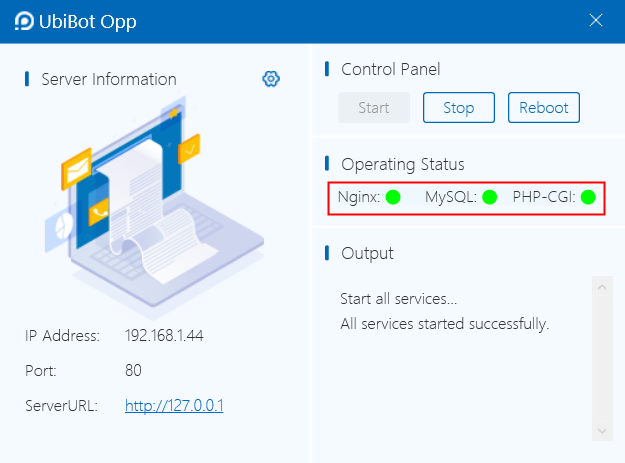
UbiBot OPPの実行
UbiBot OPPをダブルクリックし、[Start]をクリックします。動作状態が緑色に変わります。
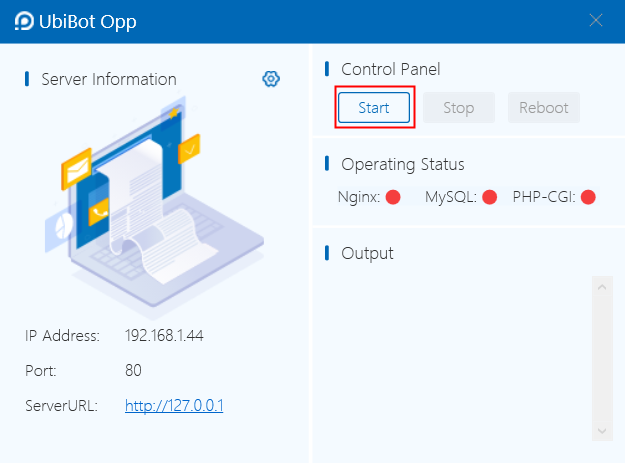
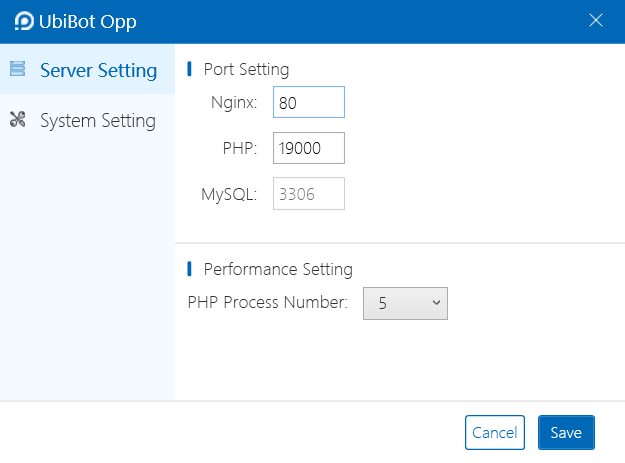
注:ポート占有プロンプトが表示された場合は、設定ボタンをクリックしてポートを変更してください。

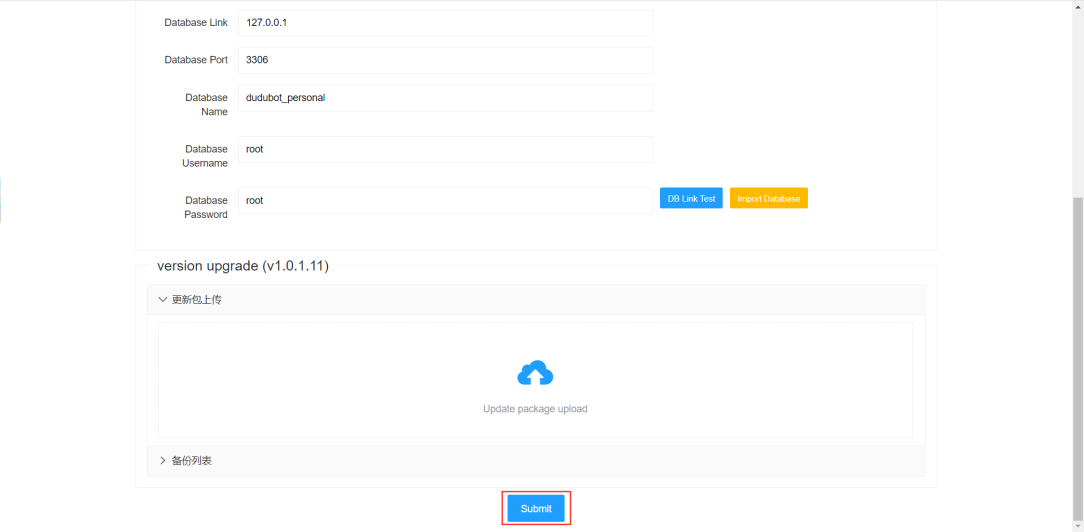
プライベート化環境パラメータ設定
a.[ServerURL]をクリックします。最初のインストール後、設定ページにリダイレクトされます。後で設定を変更するには、http://127.0.0.1/system/。

b.App Centerから取得したライセンスをアップロードします。
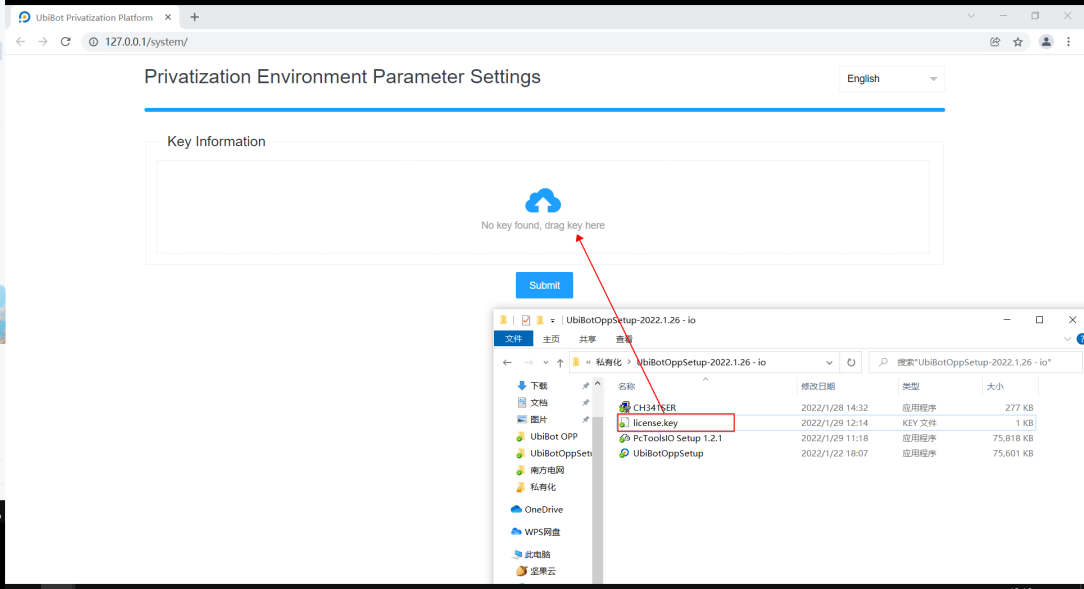
アップロード後、重要な情報が表示されます。
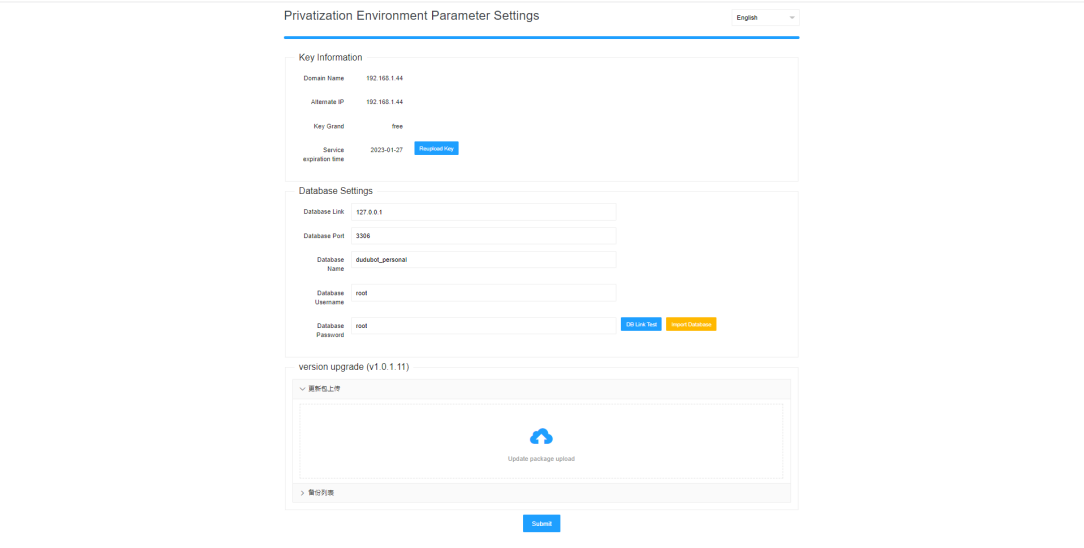
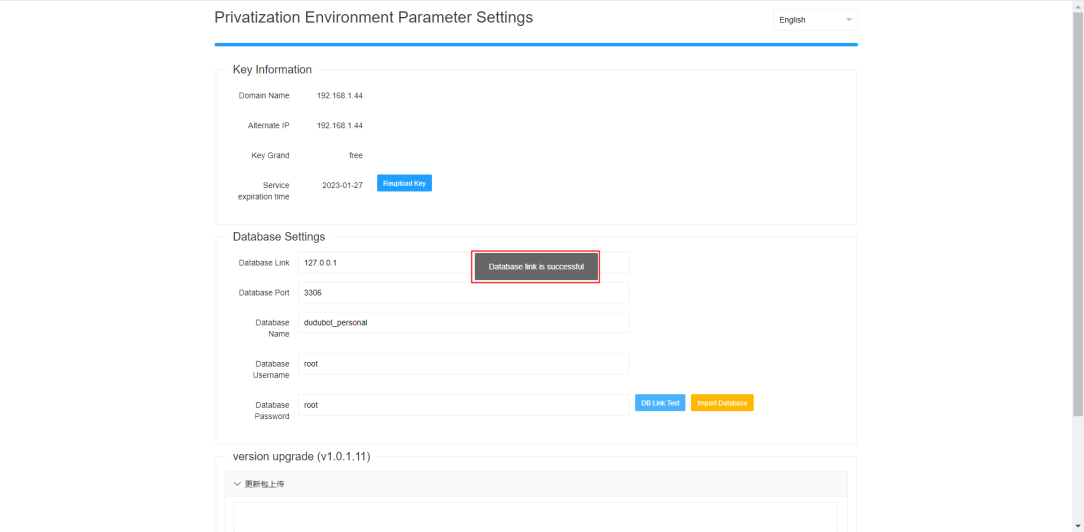
c.特別な設定が必要ない場合は、[DB Link Test]をクリックしてデータベースの接続性を確認します。
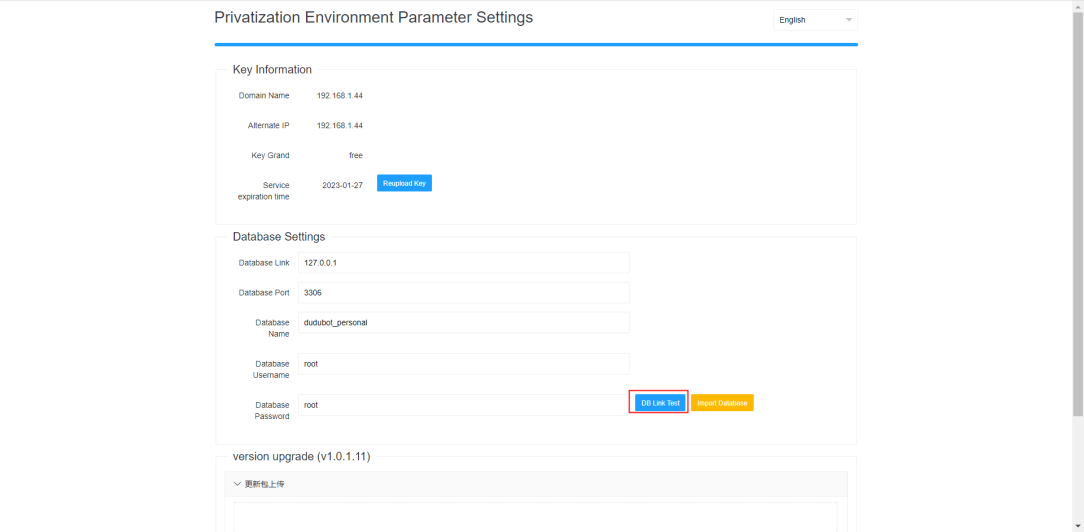
注意: [Import database] は非公開データを上書きするので、初期セットアップにのみお勧めします。インポート後、データベースリンクを再度テストしてください。
d. [Submit]をクリックして、コンソールプラットフォームに進みます。
II. デバイスの起動
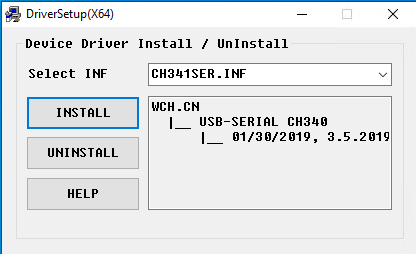
CH340ドライバーのインストール
a.[CH341SER]をダブルクリックします。

b. [Install]をクリックします。
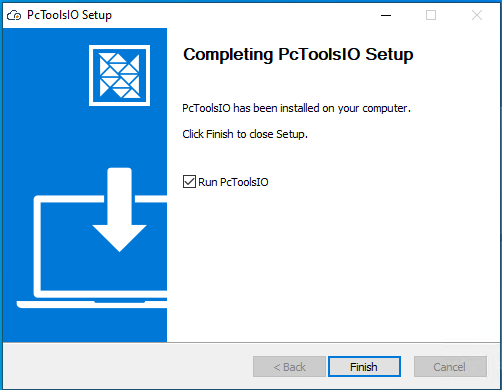
PCツールのインストール
a.[PcToolsIO Setup 1.2.1]をダブルクリックします。

b.[Install]をクリックします。

c.[Finish]をクリックします。
デバイスをアクティブにする
デバイスがすでにバインドされていないことを確認する。バインドされている場合は、まず工場出荷時の設定に戻してください。
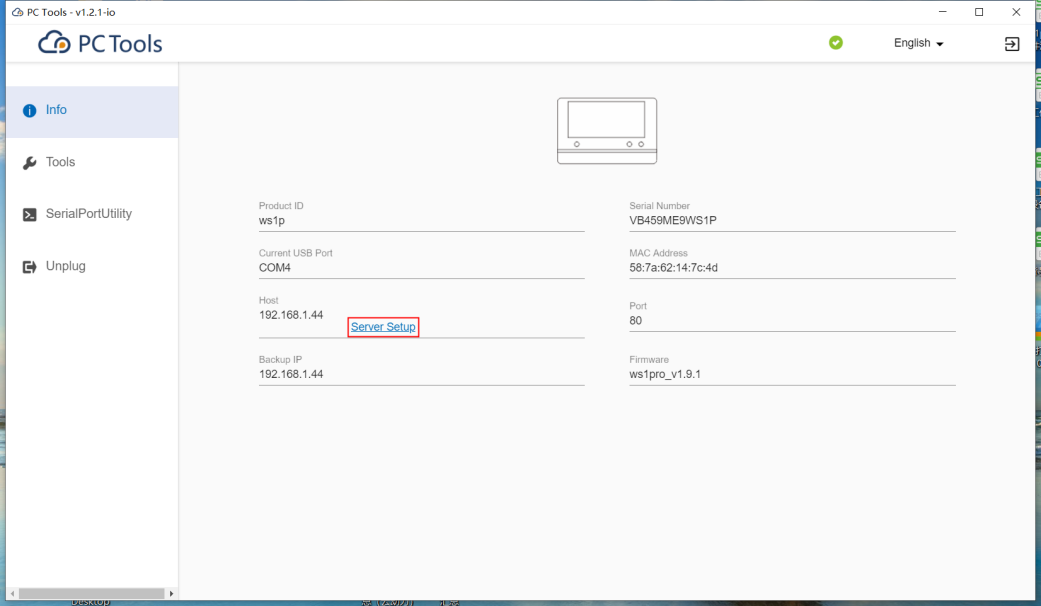
a.PC Toolをダブルクリックします。
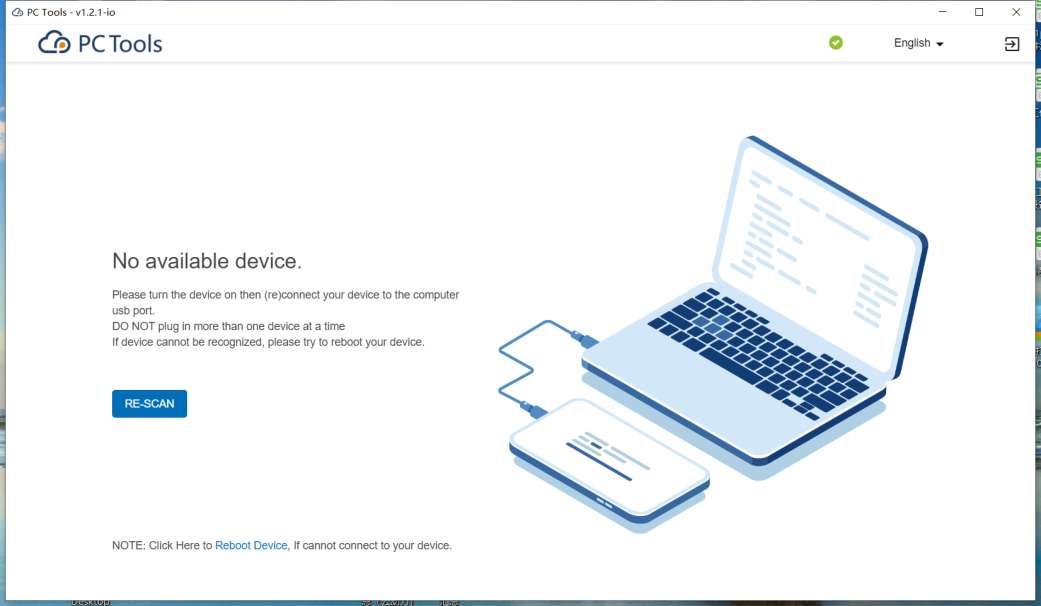
b. USB経由でデバイスを接続します。
c. [Server Setup]をクリックします。
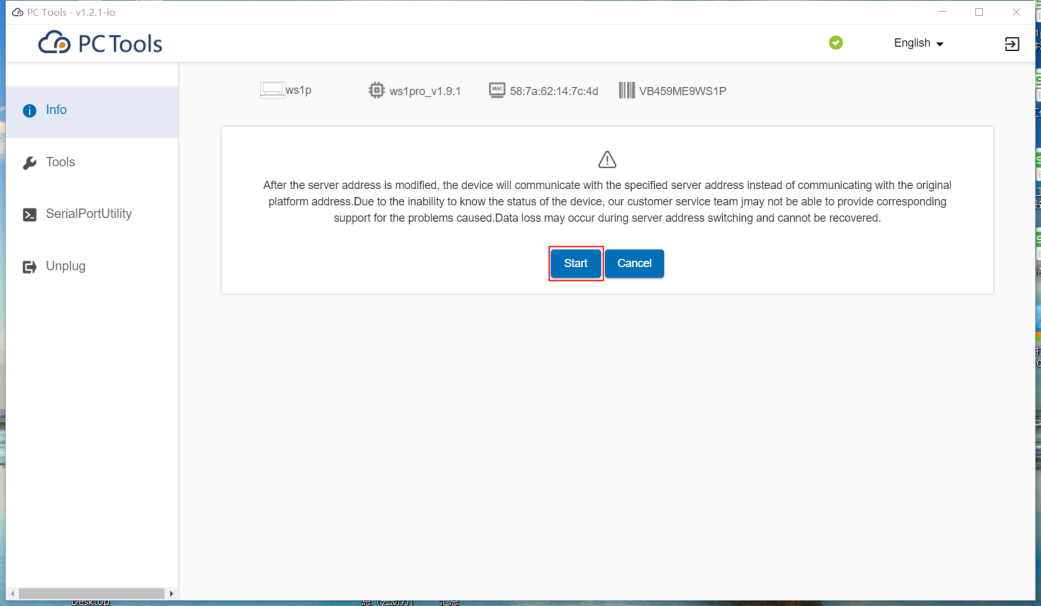
d.[Start]をクリックします。
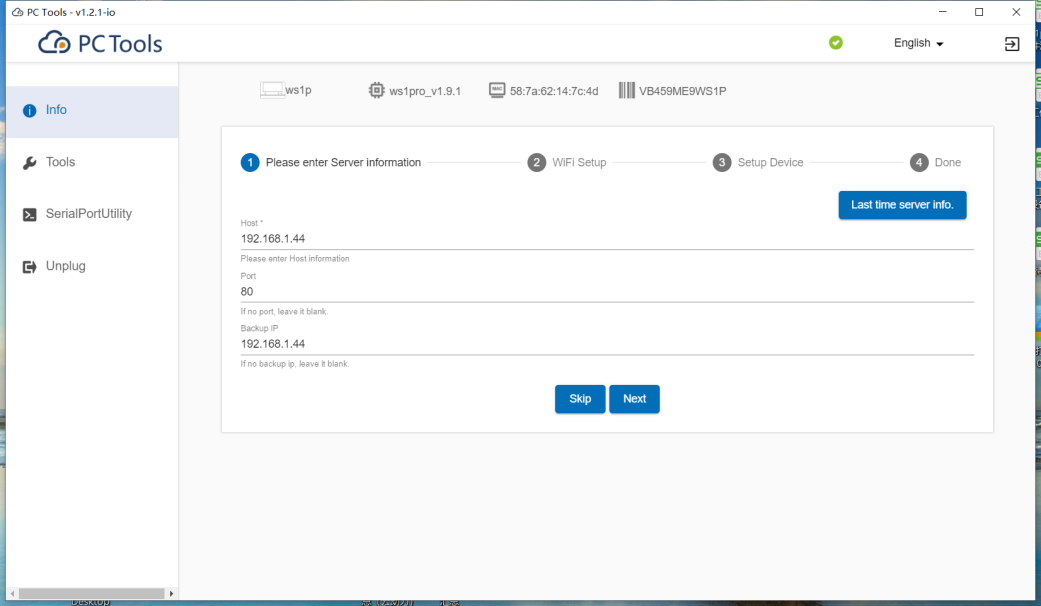
e. ホスト、ポート、バックアップIPを入力し、[Next]をクリックします。
- ホスト: キーで定義されているとおり。
- ポート:80(デフォルト)。UbiBotOPPで変更した場合は適宜更新してください。
- バックアップIP:キーで定義されているとおりです。
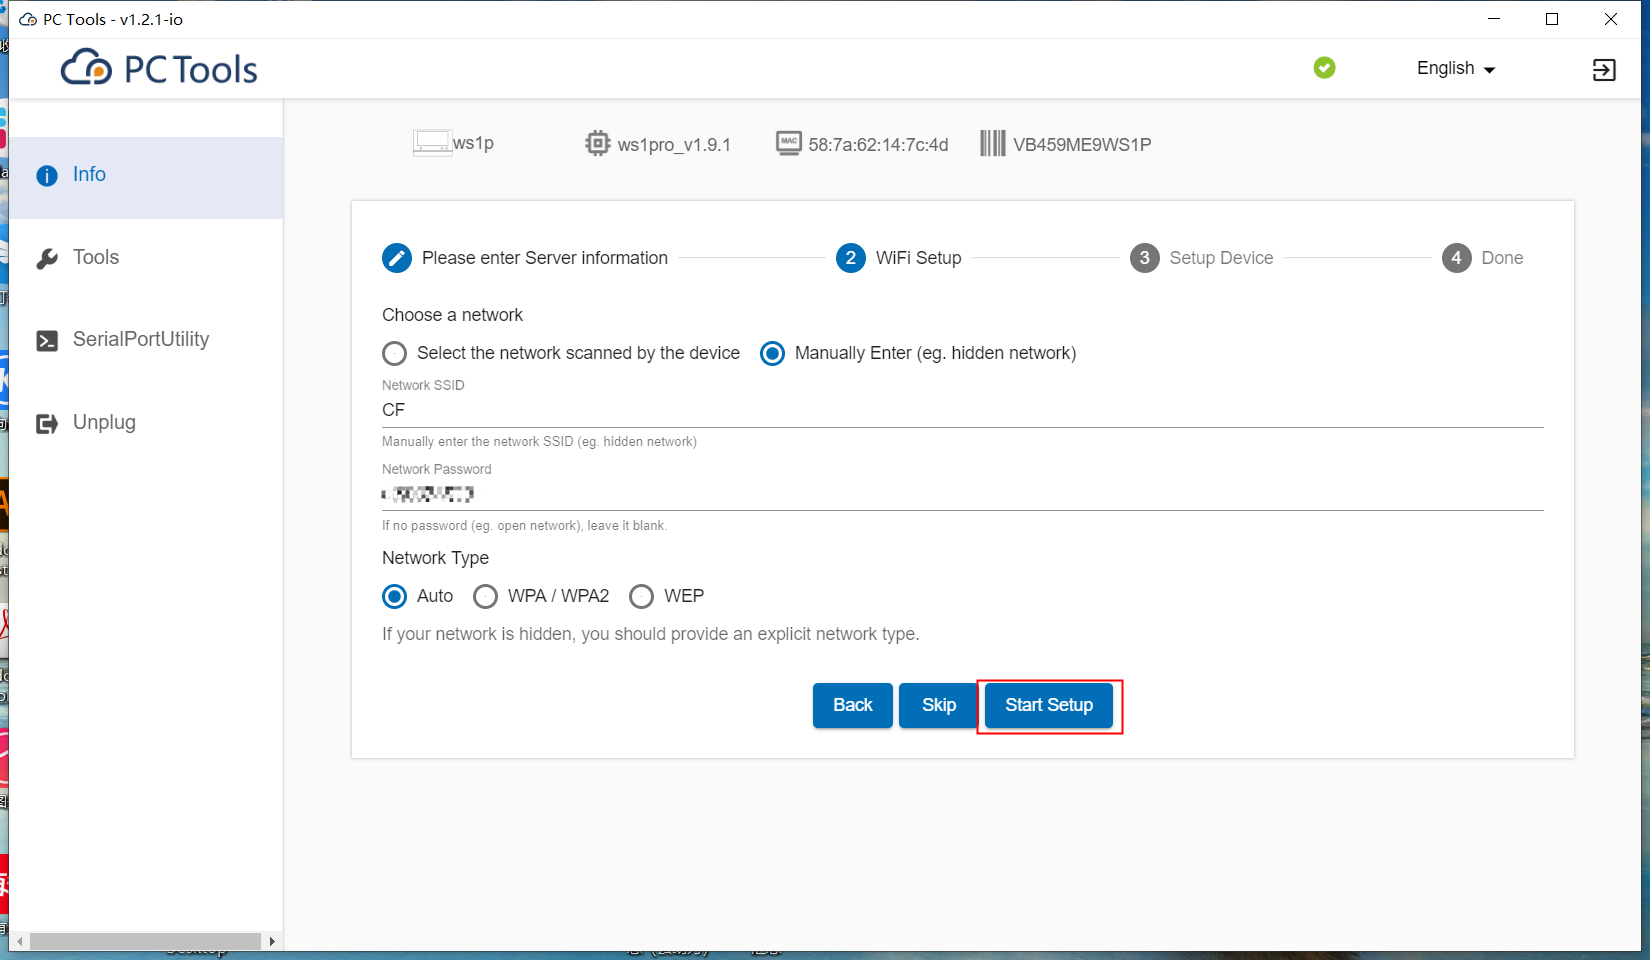
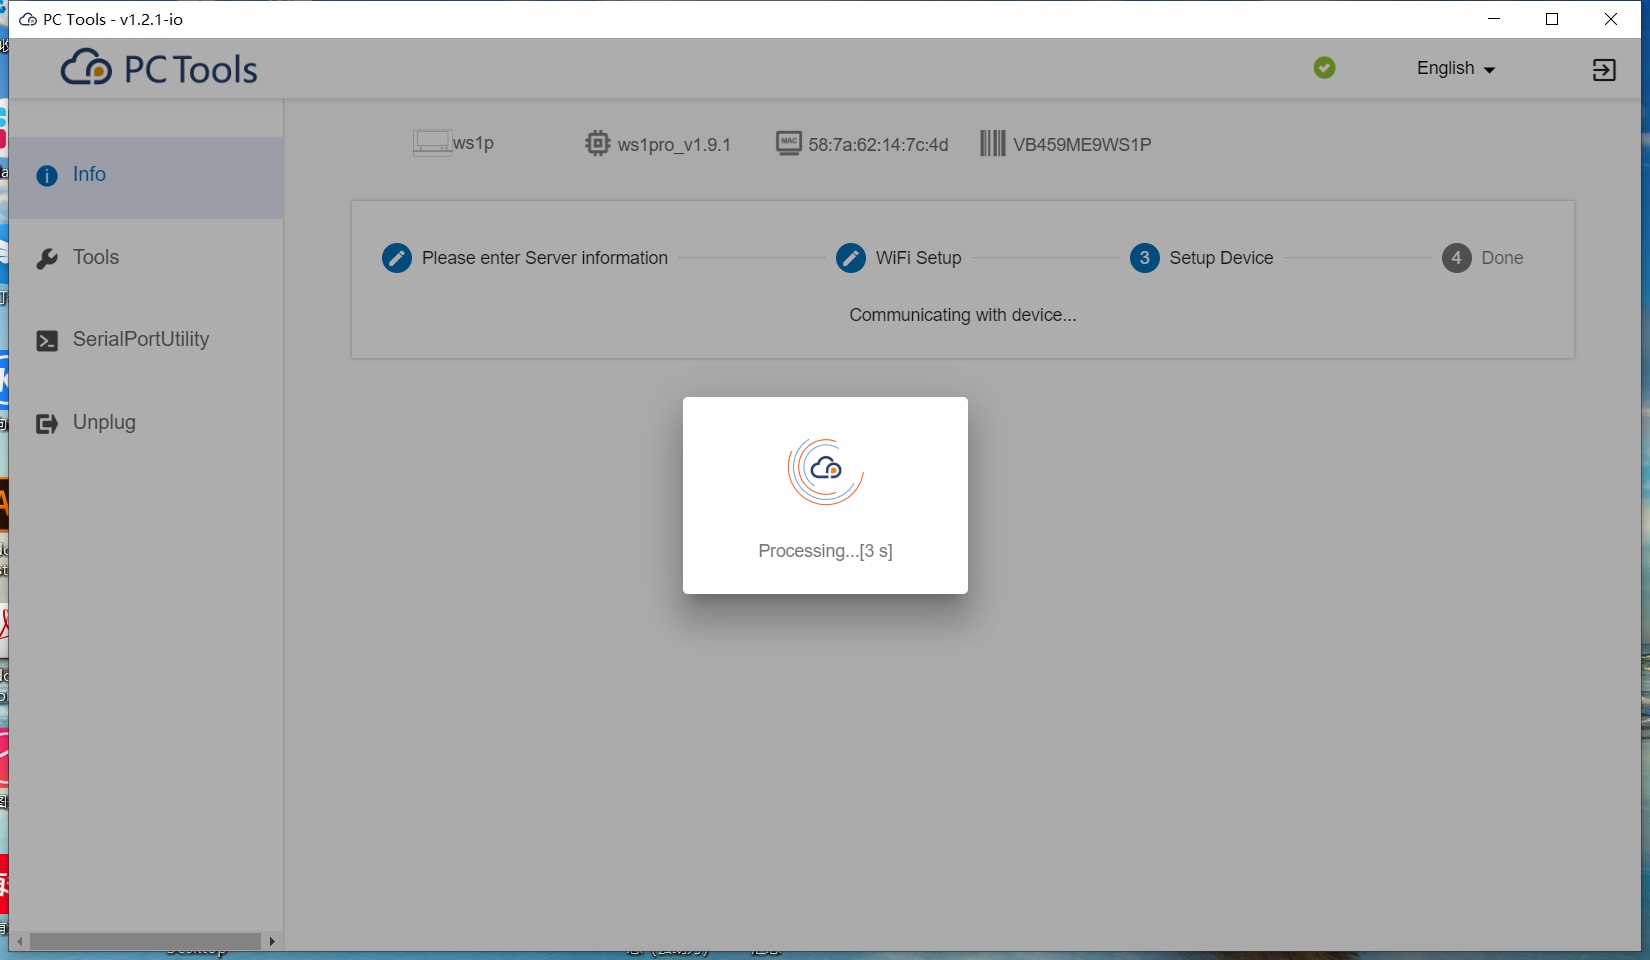
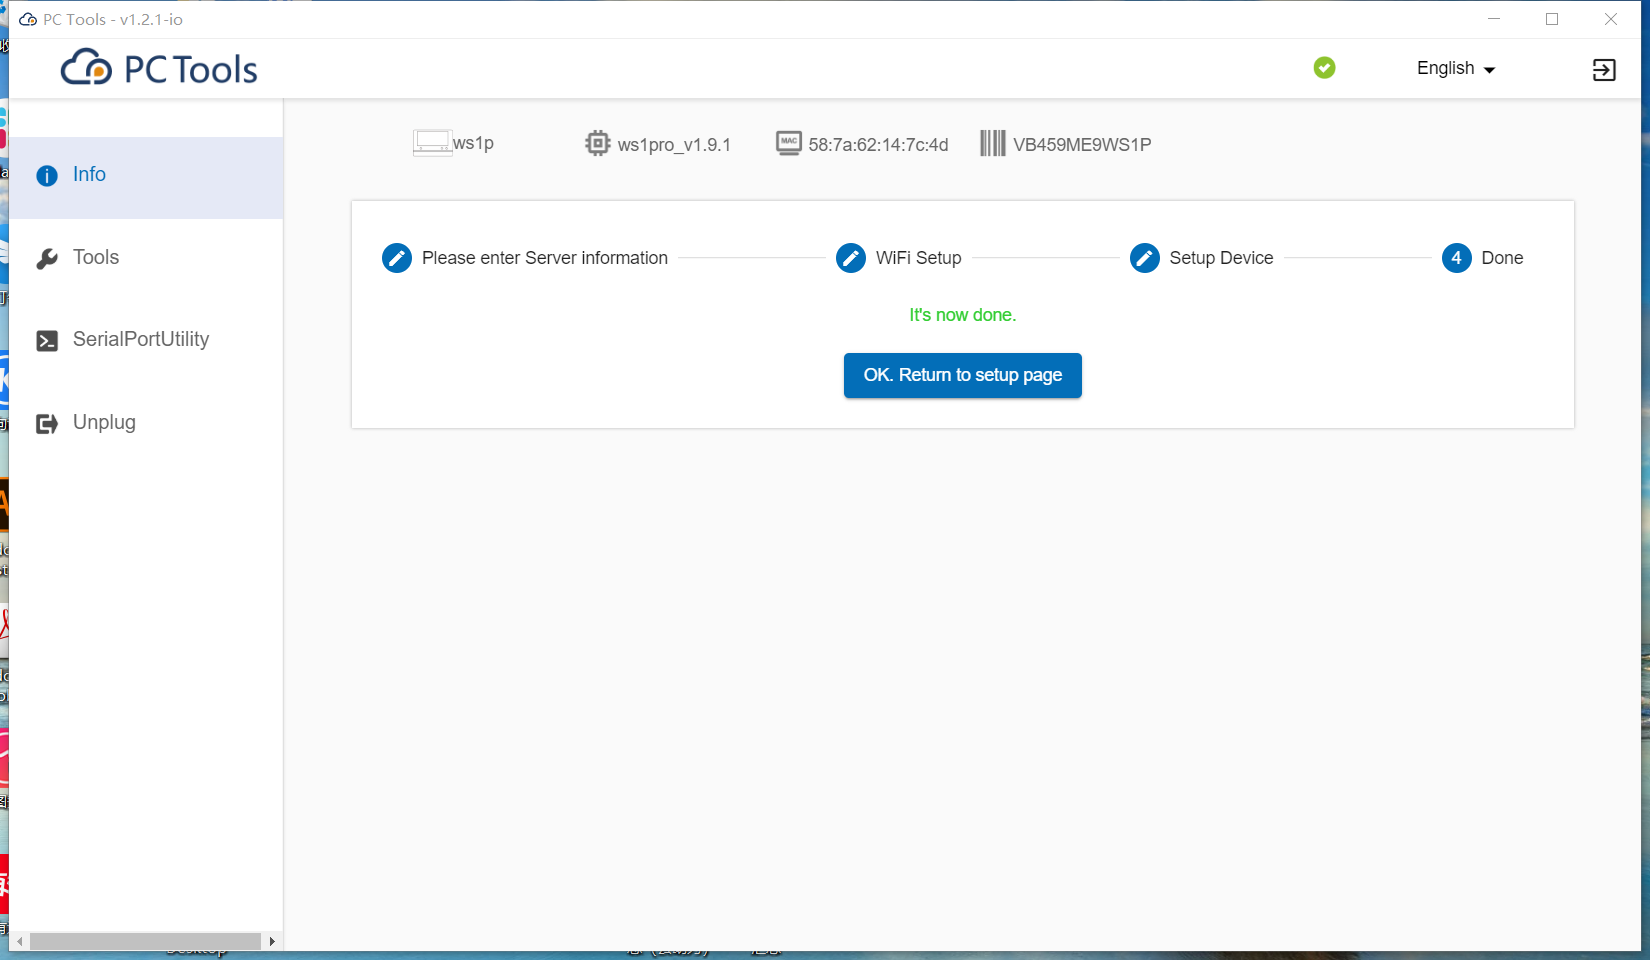
f. WiFiセットアップの場合、ネットワークを選択し、SSIDとパスワードを入力し、[Start Setup]を押します。デバイスがコンソールプラットフォームに表示されます。
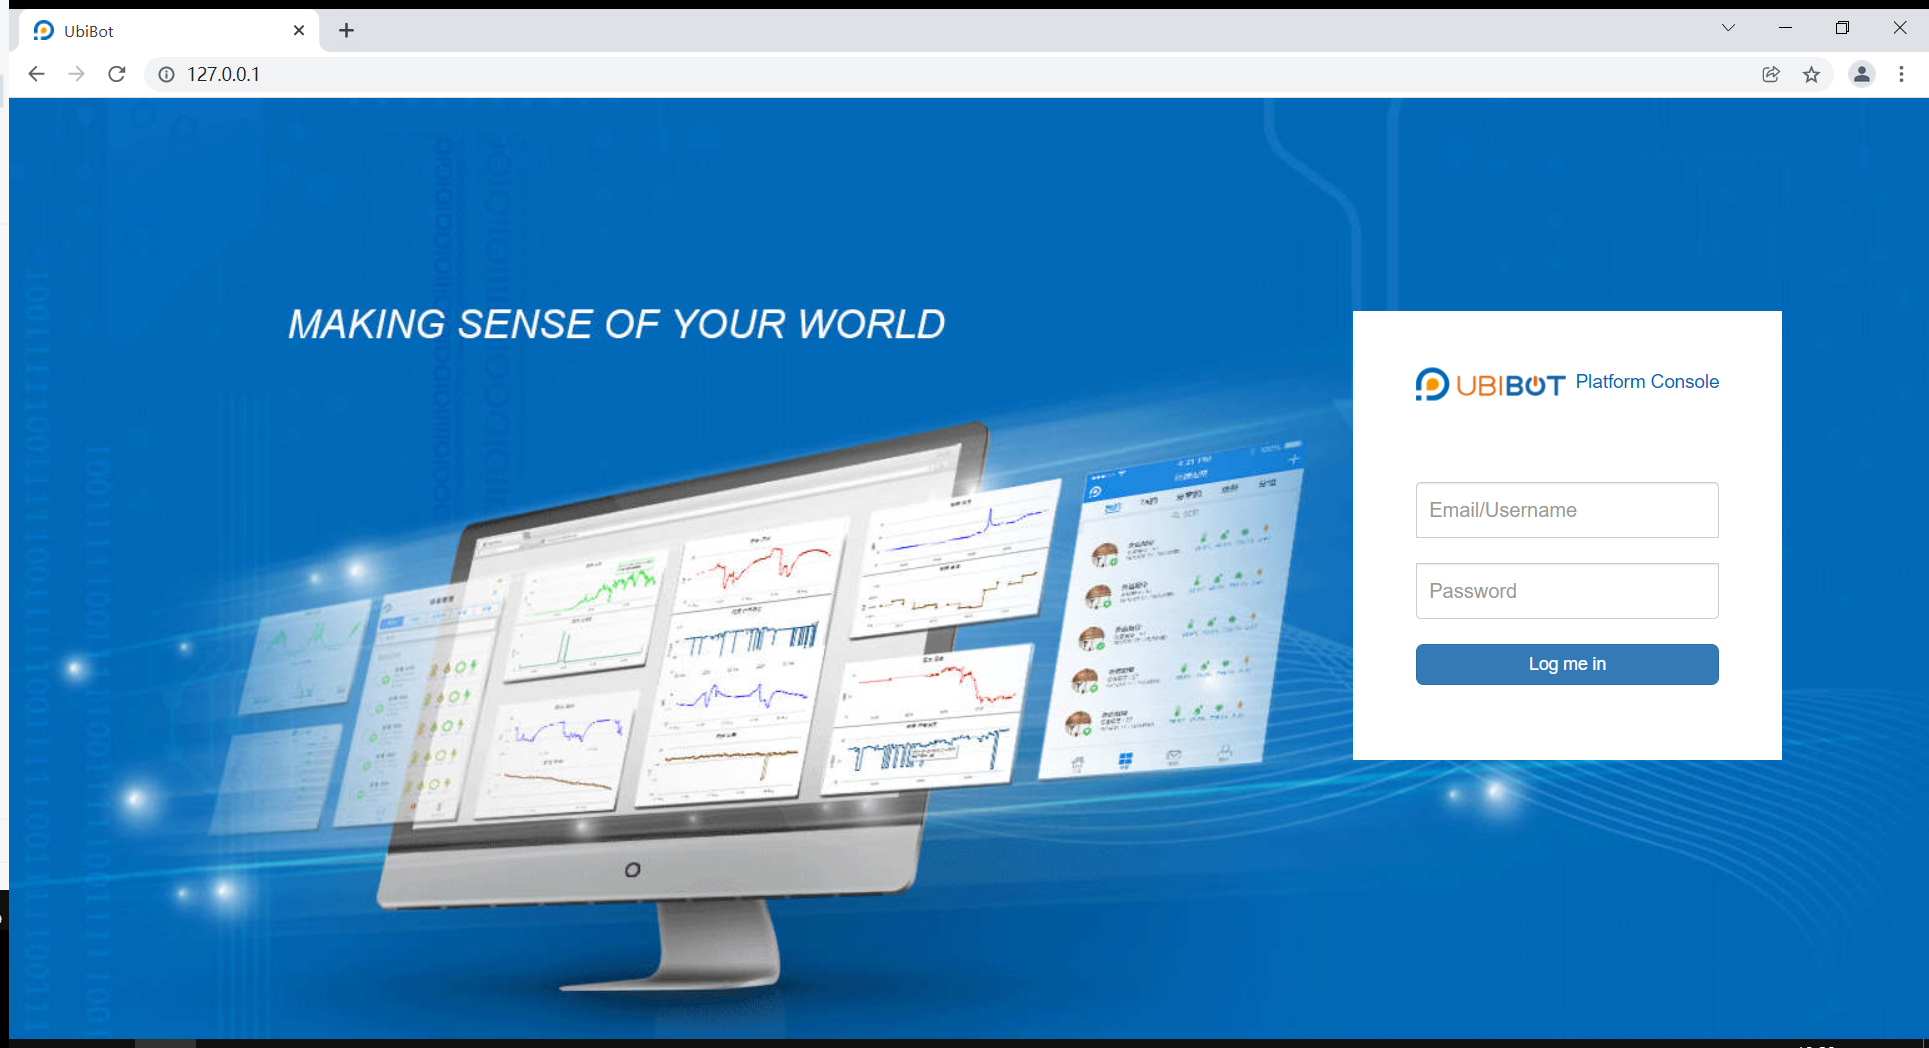
III. コンソール(Console)にログインします
http://127.0.0.1/(ローカルサーバー)または指定されたホストアドレス経由でコンソールにアクセスします。
デフォルトのログイン詳細
- ユーザー名:admin
- パスワード:123456
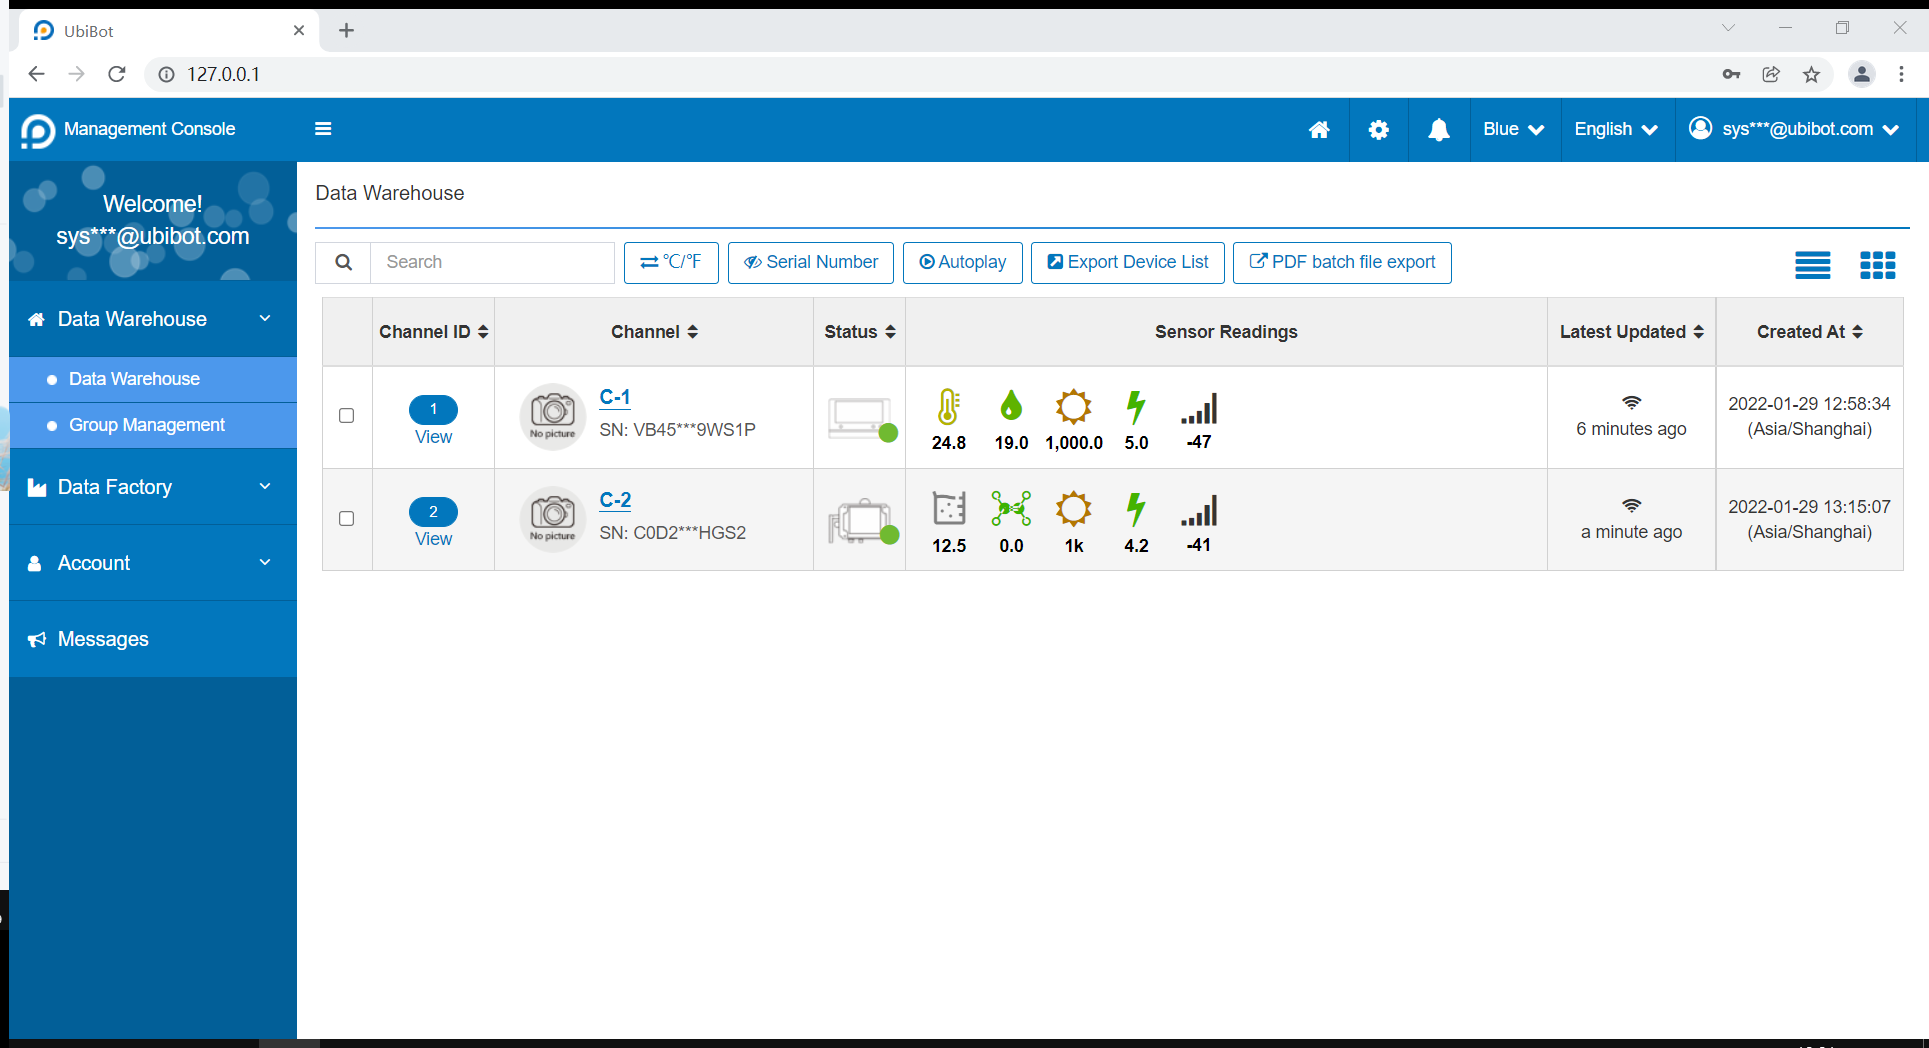
[Data Warehouse]をクリックすると、アクティベートされたデバイスが表示されます。
注:削除後にデバイスを再バインドするには、まず工場出荷時の設定に戻します。